Blog Post

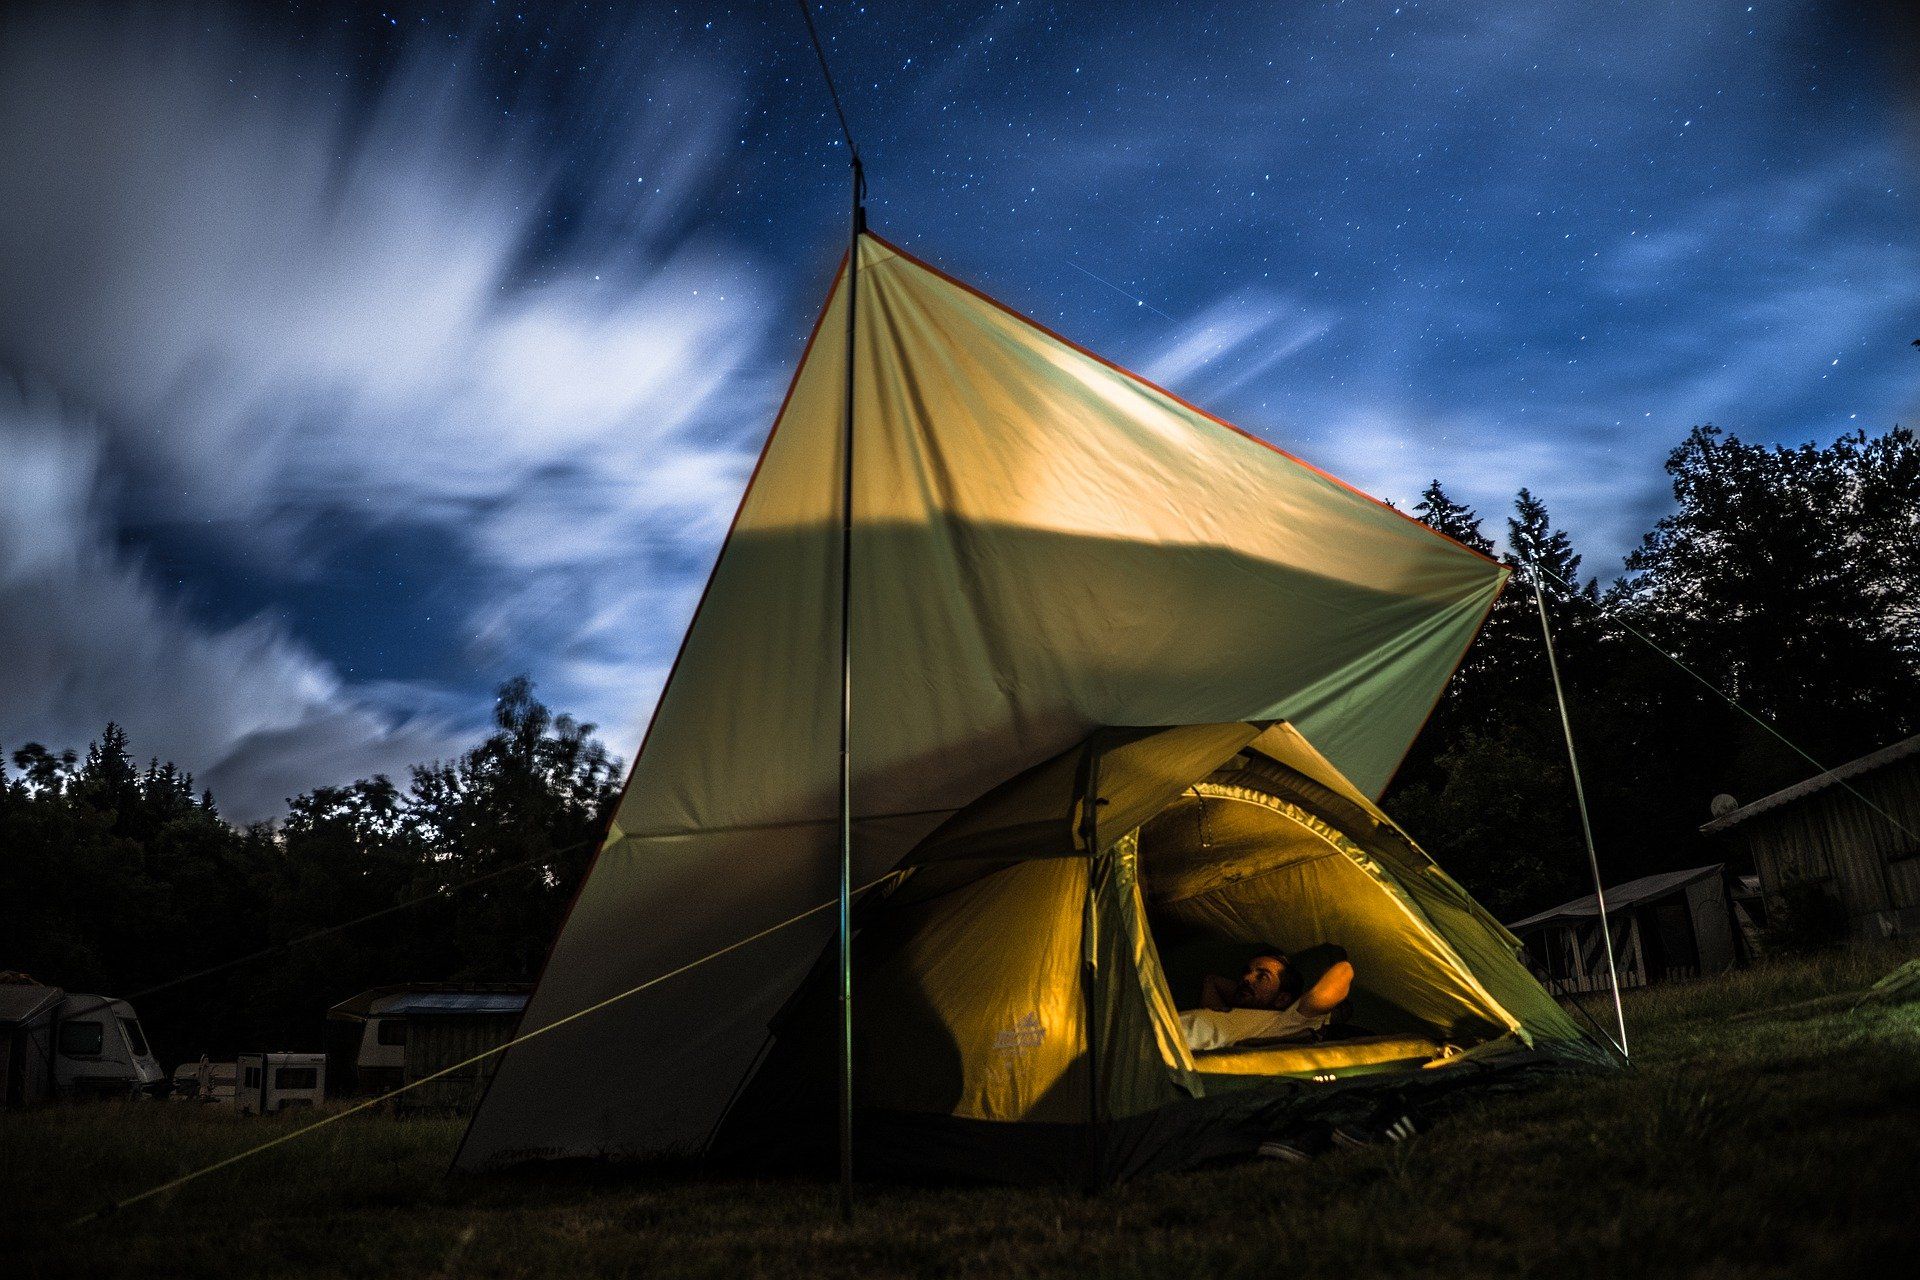
8 Secrets to Keep Warm in Your Tent when Camping and Not Freeze!

Campfire Travel • Jan 20, 2020

For many people, camping season gets into full swing in the spring and summer. Everything is waking up; the birds are coming back, the trees are blooming, the bees are buzzing about. The world is reborn! We can open our windows and dust off our tents to get ready for that first camping trip of the season. These warmer days, however, will often forget to tell their evening counterparts that it’s time to heat up! Imagine: You’ve just spent a wonderfully warm day in the great outdoors, sat around a toasty fire and now it’s time to climb into your tent for a good night’s rest. But it’s freezing!! Hopefully, you’ve come prepared, and this article will give you a great head start on how to stay warm in a tent.


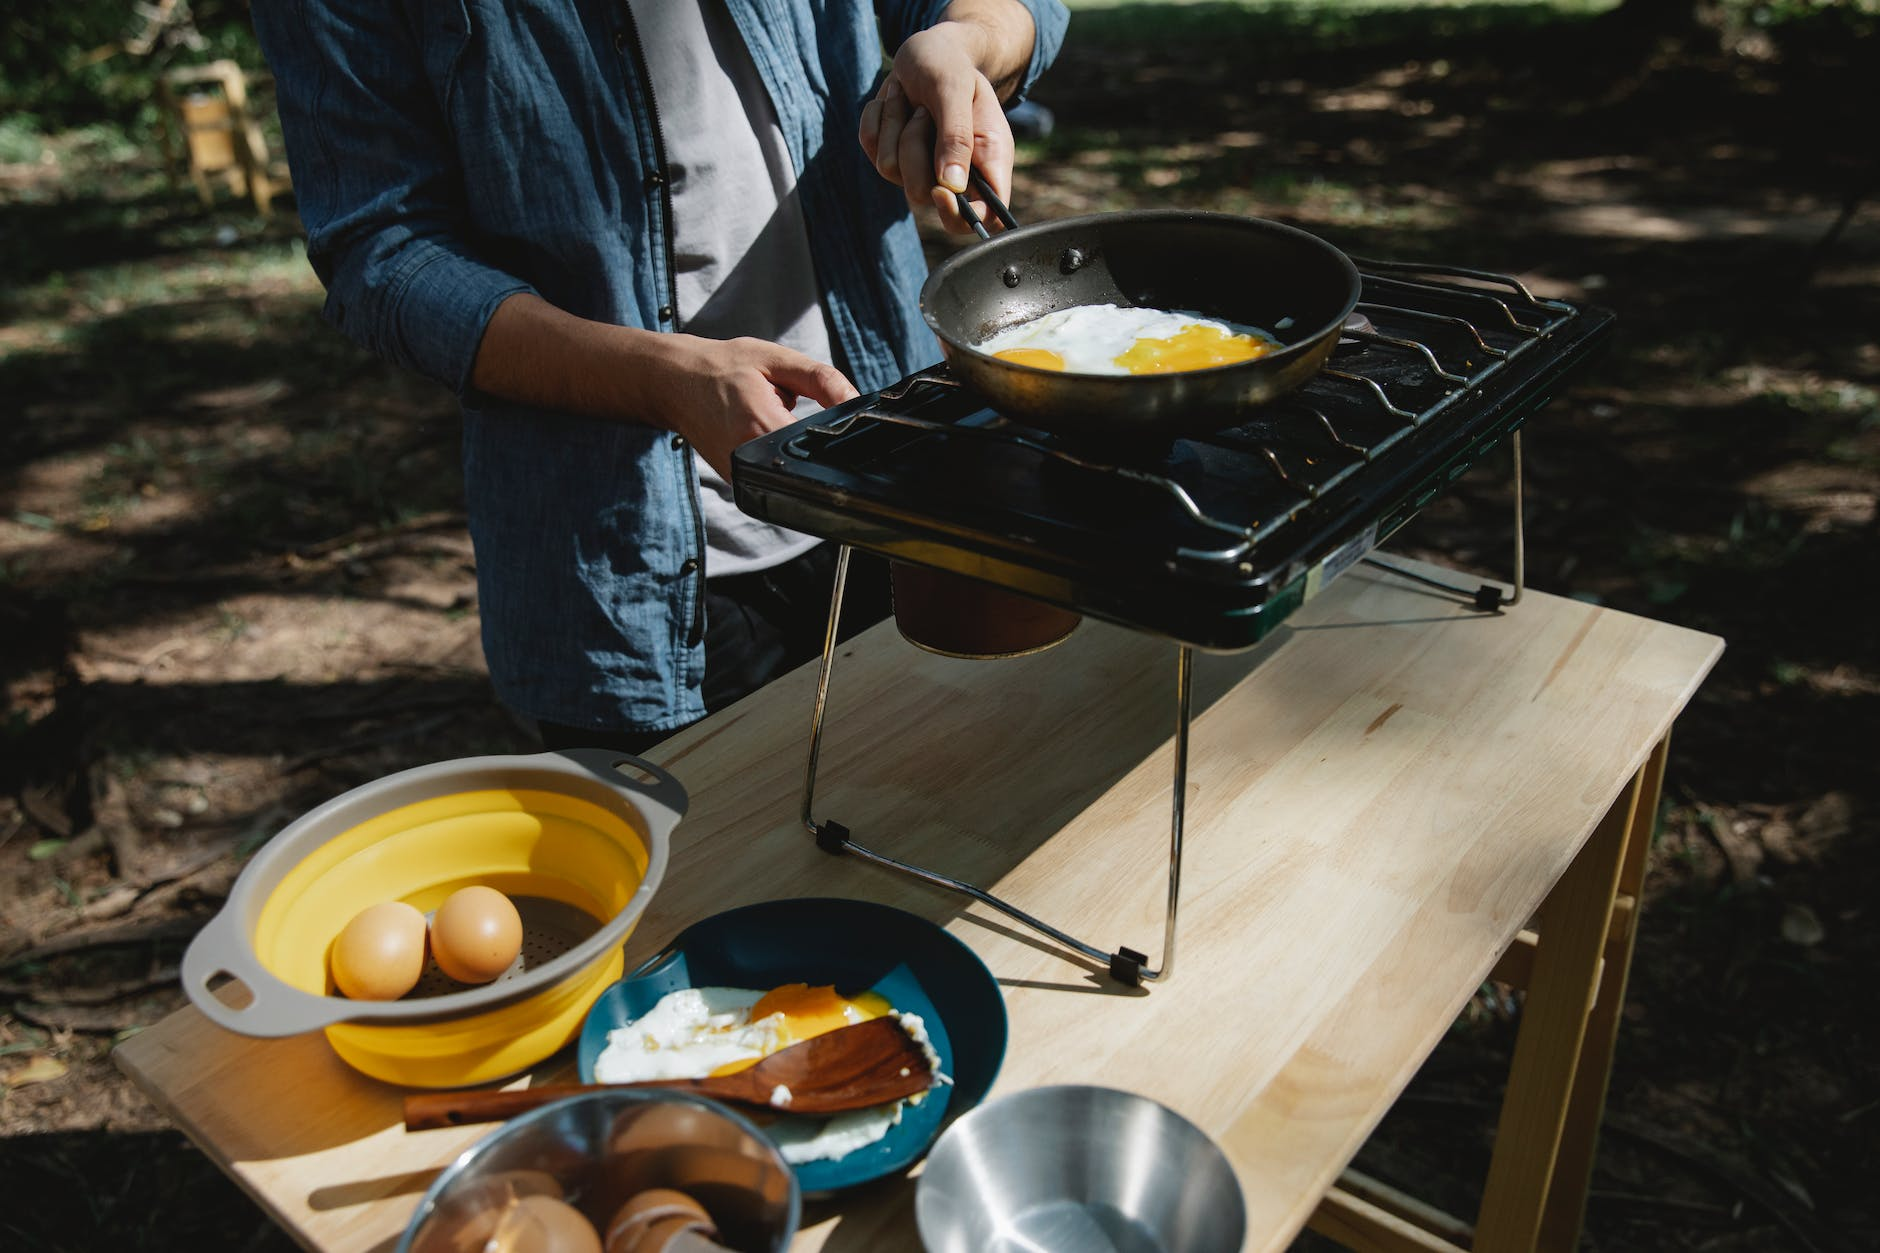
#1 - The Obvious: Buy/Use a Tent-Safe Heater

Tent heaters are one of the most obvious ways to keep your tent warm. These heaters are made for use right inside of your tent. We don’t recommend running the heater all night, however. Instead, we suggest running the heater for a bit before you go to sleep and then shutting it off before shutting yourself off for the night.

#2 Fun to Try: Mylar Blankets

Mylar blankets , sometimes known as space blankets , are a great way to keep your tent warm. Not just for emergencies, they are usually inexpensive and available at most sports and camping stores. You can use the mylar blanket around yourself to keep warm, place it on your sleeping mat or mattress, or even use it to reflect heat back on to you .

To reflect heat back down at you with the mylar blanket, simply attach it to the ceiling of your tent with duct tape. It will reflect much of the heat in the tent from either your own body heat or from your recently used tent heater. Kind of like a baked potato!

https://www.amazon.com/dp/B003ZWJTCA?tag=davenico-20&linkCode=osi&th=1&psc=1

#3 Essential: Use a Temperature Rated Sleeping Bag
Be sure you have a good quality temperature rated sleeping bag . For maximum toastiness, your sleeping bag should be rated for zero degrees. You may also want to invest in a fleece lined sleeping bag liner. Similar to when Luke Skywalker was placed in the tauntaun for warmth on the ice planet Hoth , these will help to increase the rating of your current or new sleeping bag by about 10 degrees.

#4 Pro Tip: Keep your Tent Ventilated

Most people don’t realize that you need to keep your tent ventilated at night . This may sound a little strange at first but there’s a good reason for it! Heat from your body and your breath inside your tent at night can cause condensation to build up and make everything in your tent slightly damp.

By keeping your tent ventilated, you can reduce the dampness and condensation thereby keeping you and the inside of your tent dryer – which keeps you warmer throughout the night.

It is equally important that you try to keep yourself from sweating . If you wake up and notice that you are sweating, remove some layers to keep dry. You don’t want to get too hot inside your tent. In the immortal words of Survivorman Les Stroud, you sweat, you die! Ok, so you probably won’t die on your weekend outing, but you will definitely become chilly if you sweat on a cold night!


#5 Smart Locations: Choose a Protected Campsite

Choosing the perfect camp spot is essential. When the evening weather calls for cold temperatures, you’ll be happy you chose a protected campsite.

You’ll want to avoid low lying areas where cold air settles. A site that is 50 feet above the valley floor should be sufficient to keep you warmer. Look for a campsite that is also protected from too much wind. A chilly wind on cold night can cool you to the bones.

#6 Dry It Out: Roll Out your Sleeping Bag

After you’ve slept snugly all night in your temperature rated sleeping bag, it’s a good idea to roll out any moisture from the night.

Remember, dampness equals chilliness and the last thing you want to do after your first night of sleeping warm is to crawl into a chilly, damp bag.

Simply lay out your sleeping bag and roll up, from feet to head. Extra points if you are able to lay or hang your sleeping bag to dry completely.

#7 FAIL: Air Mattresses are a HUGE No-no!

Many people like to bring a few creature comforts from home to make their camping trip as comfortable as possible. Air mattresses are one of those comforts often brought along, but it is not the best option if you are trying to keep warm.

Air mattresses hold on to whatever the current air temperature is, so if it’s below your comfort level of temperature, you will have the cold air hitting you from above and below. If you do bring an air mattress with you, remember to insulate! Use sleeping pads, mylar blankets, tarps, a foam yoga mat, or even a bed of pine needles under your tent where the mattress will be placed.

Investing in a quality sleeping mat can not only save you room, but it can help keep you warmer in your tent.

#8 Toasty Toes: Keep your Feet Dry & Warm

Like mom always said, don’t go to bed with wet socks . Actually, not many moms probably ever said this, but it’s a good piece of advice anyway! Make sure your socks are completely dry before you climb into your sleeping bag for the night. Even slightly damp socks can cause you to lose a lot of heat through your feet (remember, dampness equals coldness!!). We recommend having a pair of socks just for sleeping, and putting them on right before you climb into bed for the night.

It is important to remember not to bundle up too much to prevent any sweating. If you get too warm at night and start sweating, you can be sure to wake up damp and cold! Dress in layers that you can easily remove from in your bag.

Some campers may want to look into purchasing an elephant bag for camping. Elephant bags, or half bags, are like little sleeping bags for your feet. You simply slide your tootsies in and you’re done!

https://tentcamping.org/how-to-keep-your-tent-warm-and-not-freeze-when-camping/

By Campfire Travel 31 Mar, 2023
Camping is a great way to enjoy the great outdoors and spend time with family and friends. While tents, sleeping bags, and sleeping pads are essential camping gear, there are many other pieces of equipment that can enhance your camping experience. Here are some of the must-have camping equipment that you can use besides tents, sleeping bags, or sleeping pads.
By Campfire Travel 06 Feb, 2023
As winter continues to rage on outside, many of us are longing for a chance to escape to a warmer place. But why not use this opportunity to experience the beauty of winter camping? For those brave enough to venture into the cold, there are some essential pieces of equipment you'll need to ensure a safe, comfortable and enjoyable experience. In this blog post, we'll discuss the essential camping gear you should invest in for a February camping trip.
By Campfire Travel 10 Nov, 2022
Thanksgiving is all about taking into account all the things that we are thankful for and to camp on this special occasion is one of the best ways to celebrate the holiday. With the endless opportunities for fun and excitement present in the great outdoors, you and your family will be up to a good start in celebrating a memorable Thanksgiving. If you're looking for fun camp activities to spruce up Thanksgiving, then here are five (5) of the best activities that will add more fun and excitement to your getaway.
By Campfire Travel 09 Nov, 2022
There's something special about fall camping trips, whether in an RV or a tent, in the mountains or the woods. The temperature isn't unbearably hot, the air is crisp and clean, and the leaves are in their most colorful state of the year. If you plan on taking a camping trip this fall season, here are five equipment essentials to ensure your trip runs as smoothly as possible.
By Campfire Travel 03 Nov, 2022
Ingredients FOR THE LEMON-PEPPER SEASONING: 3 tbsp. freshly cracked black pepper 2 tbsp. kosher salt 2 tbsp. grated lemon zest, dried for 1 hour 2 tsp. garlic powder 2 tsp. mustard powder 2 tsp. onion powder 1 tsp. sugar FOR THE STEAKS: 8 boneless rib-eye steaks (about 1 inch thick) Kosher salt, to taste 1 stick salted butter, melted Directions For the lemon-pepper seasoning: Stir together the pepper, salt, lemon zest, garlic powder, mustard powder, onion powder and sugar in a small bowl. For the steaks: Preheat a grill to medium high. Season the steaks lightly with salt and rub the lemon-pepper seasoning on both sides. Brush the steaks liberally with the melted butter Grill the steaks 1 minute 45 seconds, then rotate the steaks 90 degrees. Cook 2 minutes, then go ahead and flip the steak over to the other side. After 1 minute 45 seconds on the second side, rotate 90 degrees and finish cooking for 2 minutes, or until the steaks reach 115˚ to 120˚ on an instant-read thermometer (the steak will continue to cook slightly after you’ve removed it from the grill). This is medium rare— my favorite. Remember, you can always throw a steak back on the grill if it’s too red for your taste but you can’t undo it if it’s overcooked! via: https://www.thepioneerwoman.com/food-cooking/recipes/a35823414/lemon-pepper-grilled-rib-eyes-recipe/
By Campfire Travel 03 Nov, 2022
Ingredients 1 6-ounce container blueberries 1/2 c. sugar 2 tbsp. lemon juice (from 1 lemon) 2 tsp. cornstarch 1 1/2 c. chopped strawberries (about 8 ounces) 18 to 24 glazed doughnut holes Directions Combine the blueberries, 1/4 cup sugar, 1 tablespoon lemon juice, 1 teaspoon cornstarch and 1/4 cup water in a small saucepan and bring to a boil over medium heat. Reduce the heat to low and simmer, stirring occasionally, until the blueberries start breaking down and the sauce thickens, about 15 minutes. Scrape into a small bowl and set aside. Wipe the pan clean and add the strawberries and the remaining 1/4 cup sugar, 1 tablespoon lemon juice and 1 teaspoon cornstarch. Cook over low heat, stirring occasionally, until the strawberries soften and the sauce thickens, about 15 minutes. Scrape into a separate small bowl and set aside. Meanwhile, preheat a grill to low. Thread the doughnut holes onto 6 to 8 ten-inch wooden skewers. Grill the doughnuts, turning, until warmed and marked, 1 to 2 minutes per side. Serve with the fruit sauces. via: https://www.thepioneerwoman.com/food-cooking/recipes/a33407727/doughnut-hole-kebabs-recipe/
By Campfire Travel 03 Nov, 2022
Ingredients 6 6-inch corn tortillas 1 1/2 lb. ground beef 2 tsp. chili powder 2 tsp. ground cumin 1 tsp. kosher salt Black pepper, to taste 1 tbsp. vegetable oil 2 small sweet potatoes (about 1 pound), peeled and cut into 1/2-inch pieces 1 14.5-ounce can black beans, drained and rinsed 1 chipotle chile in adobo, chopped, plus 1 teaspoon sauce from the can 2 c. jarred salsa Chopped avocado, thinly sliced radishes, crumbled queso fresco, and sliced scallions, for topping Directions Lightly char the tortillas over the flame of a gas burner. Let cool, then tear into large pieces. Heat a large cast-iron skillet over medium-high heat. Add the ground beef and season with the chili powder, cumin, salt and pepper. Cook, breaking up the meat, until browned, about 5 minutes. Remove the beef to a bowl and set aside. Add the vegetable oil and sweet potatoes to the skillet. Cook, stirring occasionally, until browned around the edges and beginning to soften, 5 to 7 minutes. Add the black beans, chipotle, adobo sauce and ¼ cup salsa to the sweet potatoes. Stir in the beef and 1 cup water and cook, stirring often, until slightly thickened and the sweet potatoes are tender, 5 to 7 minutes. Stir in the remaining 1¾ cups salsa and add a little more water if you like a saucier dish. Stir in the tortilla pieces. Serve immediately with your favorite toppings. via: https://www.thepioneerwoman.com/food-cooking/recipes/a32464308/beef-taco-skillet-recipe/
By Campfire Travel 05 Sep, 2022
Ingredients 1 teaspoon bouillion paste (I used Better than Bouillion vegetable paste, but you could also use chicken, beef, pork, miso or Thai curry paste.) 3 tablespoons kimchi (or more if you like spice!) If kimchi isn’t your thing, try sesame seed oil, chili sauce or Sriracha. veggies! I used corn, carrots and sautéed mushrooms. You could add spinach, peppers or bok choy. There are endless possibilities here. 1 cup cooked brown rice noodles. You can also try udon, soba noodles, vermicelli or spaghetti. Get creative! green onions on top (optional) mason jar (the wide mouth containers work best) Directions Add bouillion paste to the bottom of a mason jar. Next add in your kimchi. Pack in your veggies. Put noodles on top. Top with green onions. When ready to eat, remove lid and pour hot water into the mason jar. Let sit for a few minutes, then enjoy! via https://www.brit.co/mason-jar-ramen/
By Campfire Travel 05 Sep, 2022
Ingredients Marinade 1 minced garlic clove 1/4 cup cilantro leaves 2 tablespoons olive oil 3 tablespoons tequila 1 tablespoon fresh lemon juice 1 tablespoon fresh lime juice 1/2 teaspoon salt 1 teaspoon freshly ground black pepper 1 1/2 pounds skirt steak Instructions At home: Whirl garlic, cilantro, oil, tequila, lemon and lime juices, salt, and pepper in a blender or food processor. Transfer to a large resealable plastic bag. When ready to marinate steak (at least 1 and up to 24 hours before cooking), add steak to bag, shake to coat with marinade, reseal, and chill. At campsite: Prepare a gas or charcoal grill for high heat (450° to 550°; you can hold your hand 5 in. above cooking grate only 2 to 4 seconds). Grill steak over direct heat (cover if using gas), about 4 minutes per side for medium-rare. Let sit 10 minutes, then cut across the grain into 1/2-in.-thick slices. Serve with Four-Herb Chimichurri. via https://www.sunset.com/recipe/gaucho-steak-with-four-herb-chimichurri
By Campfire Travel 05 Sep, 2022
INGREDIENTS 3 lbs. Ground Beef, (90% lean) 1 Tbsp. vegetable oil 1 medium onion, chopped 1 green bell pepper, chopped 1 jalapeño pepper, ribs and seeds removed, chopped 4 garlic cloves, minced 2 Tbsp. chili powder 1 Tbsp. paprika 1 Tbsp. ground cumin 1 tsp. dried oregano ½ tsp. freshly ground black pepper ½ tsp. Kosher salt 1 can (8 oz.) tomato sauce 1 can (10 oz.) diced tomatoes & green chilies, undrained 1 12-oz bottle of beer 2 8.5 oz boxes of cornbread mix (including ingredients to prepare cornbread) Optional Toppings Sour cream Sliced green onions Shredded cheddar cheese INSTRUCTIONS Step 1 Heat briquettes up in a chimney, then make a layer of hot briquettes on the ground, a fire ring, or other metal structure. Step 2 Place the dutch oven on the briquettes and allow dutch oven to get hot. Step 3 Add oil to the dutch oven and sauté onion, bell pepper, and jalapeño pepper stirring occasionally until tender, approximately 4-7 minutes. Add garlic and cook for an additional 1 minute. Step 4 Add Ground Beef to dutch oven and cook for 8-10 minutes, breaking beef into small crumbles and stirring occasionally until browned. If dutch oven starts to cool off, add more hot briquettes on the bottom. Step 5 Add chili powder, paprika, cumin, oregano, black pepper and salt; cook for 1 minute. Step 6 Add tomato sauce, diced tomatoes & green chilies, and beer; bring to a boil. Cook for 30 minutes. Step 7 Prepare cornbread mix based on box instructions and pour over chili, spreading into an even layer. Step 8 Heat approximately 20 additional briquettes. Cover dutch oven with lid and place hot briquettes evenly on the top of the closed lid. Step 9 Cook for about 10 minutes, checking halfway through. Check to see if cornbread is done by sticking a toothpick into cornbread. If the toothpick comes out clean, it is done. via https://beeflovingtexans.com/recipe/campfire-dutch-oven-chili-with-cornbread/
Show More
Share by: