Blog Post

Planning a Camping Trip to Tour North America

Adrian Armstrong • May 30, 2019

The United States alone has more to see and do than one can accomplish in a lifetime. Because of this one needs to carefully choose which locations and sites are more important based on their type of interest. By far, camping would be a great way to explore our country in an economical way with the comforts of being at home. So, let's plan a trip around the lower forty-eight States and Canada. One should plan on three to four years to accomplish this journey. Now how does one do this?

First, write down each state and Province of Canada on a piece of paper. A pretty easy task if you can name off all the states if not a map of our country will aid in this process. Next, one should Google each state's tourism department requesting travel guides and state maps. For the most part, this should be pretty easy. However, getting some information from Canada might take a little more effort, some provinces may even take a phone call, don't worry they have a toll-free number. Some of the states will have the travel information broken down into categories', or have different brochures by location within the state, while other states just have one brochure. After a couple of weeks, the onslaught of mail will start, they will be days the mail person may have to bring it to the front door in a bundle. In about six to eight weeks one will have a stack over two feet high. Now, this can be overwhelming.

The next task at hand is, how does one track this in an organized way? Easy enough, Excel spreadsheets. A good idea is to take a map of the United States and with a black marker divide the country into six sections. Southeast, Southcentral, Southwest, Northeast, Northcentral, Northwest and one for all of Canada. In all, seven named spreadsheets. With each spreadsheet, create a tab for each state and province. The next step is a lot of reading, and of course, looking at pictures.

Looking at the travel brochures, one can tell some states put forth a great amount of effort with the information regarding their state. As one knows, good pictures are a great attention getter, while some states did this, others didn't. The idea is to complete one state at the time. As you read through the brochures, Google anything of interest to you, if it's something you feel would be enjoyable, put the name of the site, the web link, city, address and any fees associated with it on the state's tab.

Once you have all the information on each States tab, it's time to organize the sites by location within the state. Google map is an ideal tool to help with this process. First, divide each state into nine sections ex: Northwest, Center West, Southwest. For the most part, most of the states should be pretty easy to put your places of interest into geographical locations. By far, Texas and California due to the size of each state may be pretty difficult and very time-consuming. As a note, don't be surprised, all states don't have something to see and do everywhere, especially Canada in the far northern sections.
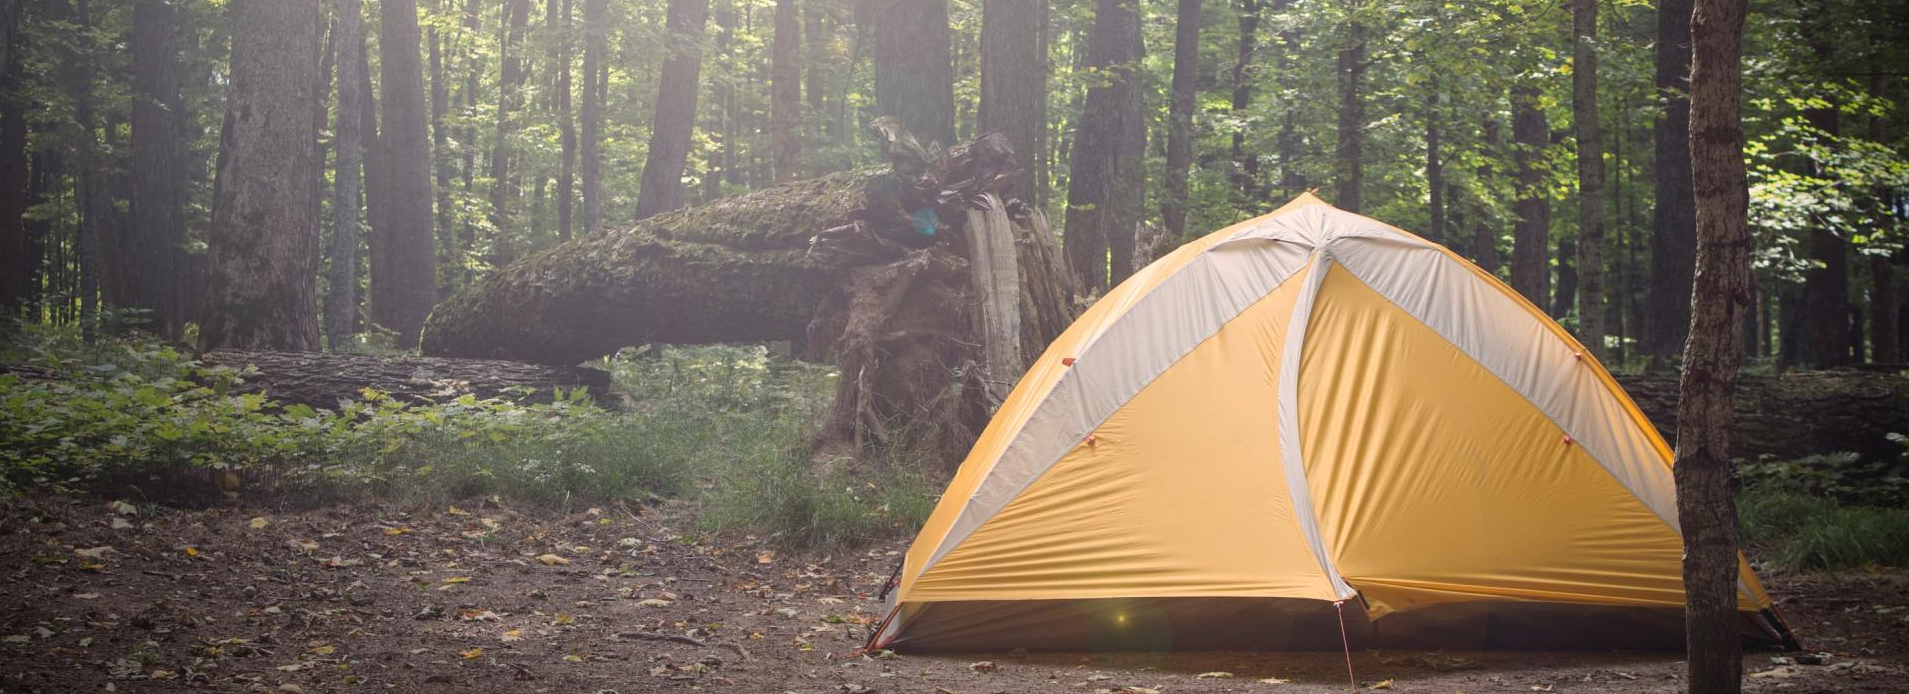
The idea is to stay at a campground which is centrally located for the places you wish to visit and then move to your next location. For this task, one should join Good Sam and All stays Pro camping clubs, both have campground maps for North America with most campgrounds listed. This should be a great tool from which to select campgrounds. One can open each campgrounds web site and read all about them. Try to target around five to seven campgrounds in each location for future planning. List the campground, prices, how many sites and their ratings on the spreadsheets. Next, one can use Google map to find the distances from the campgrounds to each place you plan to visit. This will give you an idea of which campground is better located for your stay.

The last step is to plan your route, being as efficient as possible. Things to consider are many campgrounds in the north are seasonal, as well as the seasonal temperatures at any given location. The length of stay at each location should be decided by the things you plan on doing, given time for what the locals may suggest and a little downtime. Due to campground pricing, your shortest stay should be seven days and the longest thirty-one days.

The last and most important thing one must decide on is their home and personal belongings. To maintain a home for the length of time you may be gone, can be quite expensive.

By Campfire Travel 31 Mar, 2023
Camping is a great way to enjoy the great outdoors and spend time with family and friends. While tents, sleeping bags, and sleeping pads are essential camping gear, there are many other pieces of equipment that can enhance your camping experience. Here are some of the must-have camping equipment that you can use besides tents, sleeping bags, or sleeping pads.
By Campfire Travel 06 Feb, 2023
As winter continues to rage on outside, many of us are longing for a chance to escape to a warmer place. But why not use this opportunity to experience the beauty of winter camping? For those brave enough to venture into the cold, there are some essential pieces of equipment you'll need to ensure a safe, comfortable and enjoyable experience. In this blog post, we'll discuss the essential camping gear you should invest in for a February camping trip.
By Campfire Travel 10 Nov, 2022
Thanksgiving is all about taking into account all the things that we are thankful for and to camp on this special occasion is one of the best ways to celebrate the holiday. With the endless opportunities for fun and excitement present in the great outdoors, you and your family will be up to a good start in celebrating a memorable Thanksgiving. If you're looking for fun camp activities to spruce up Thanksgiving, then here are five (5) of the best activities that will add more fun and excitement to your getaway.
By Campfire Travel 09 Nov, 2022
There's something special about fall camping trips, whether in an RV or a tent, in the mountains or the woods. The temperature isn't unbearably hot, the air is crisp and clean, and the leaves are in their most colorful state of the year. If you plan on taking a camping trip this fall season, here are five equipment essentials to ensure your trip runs as smoothly as possible.
By Campfire Travel 03 Nov, 2022
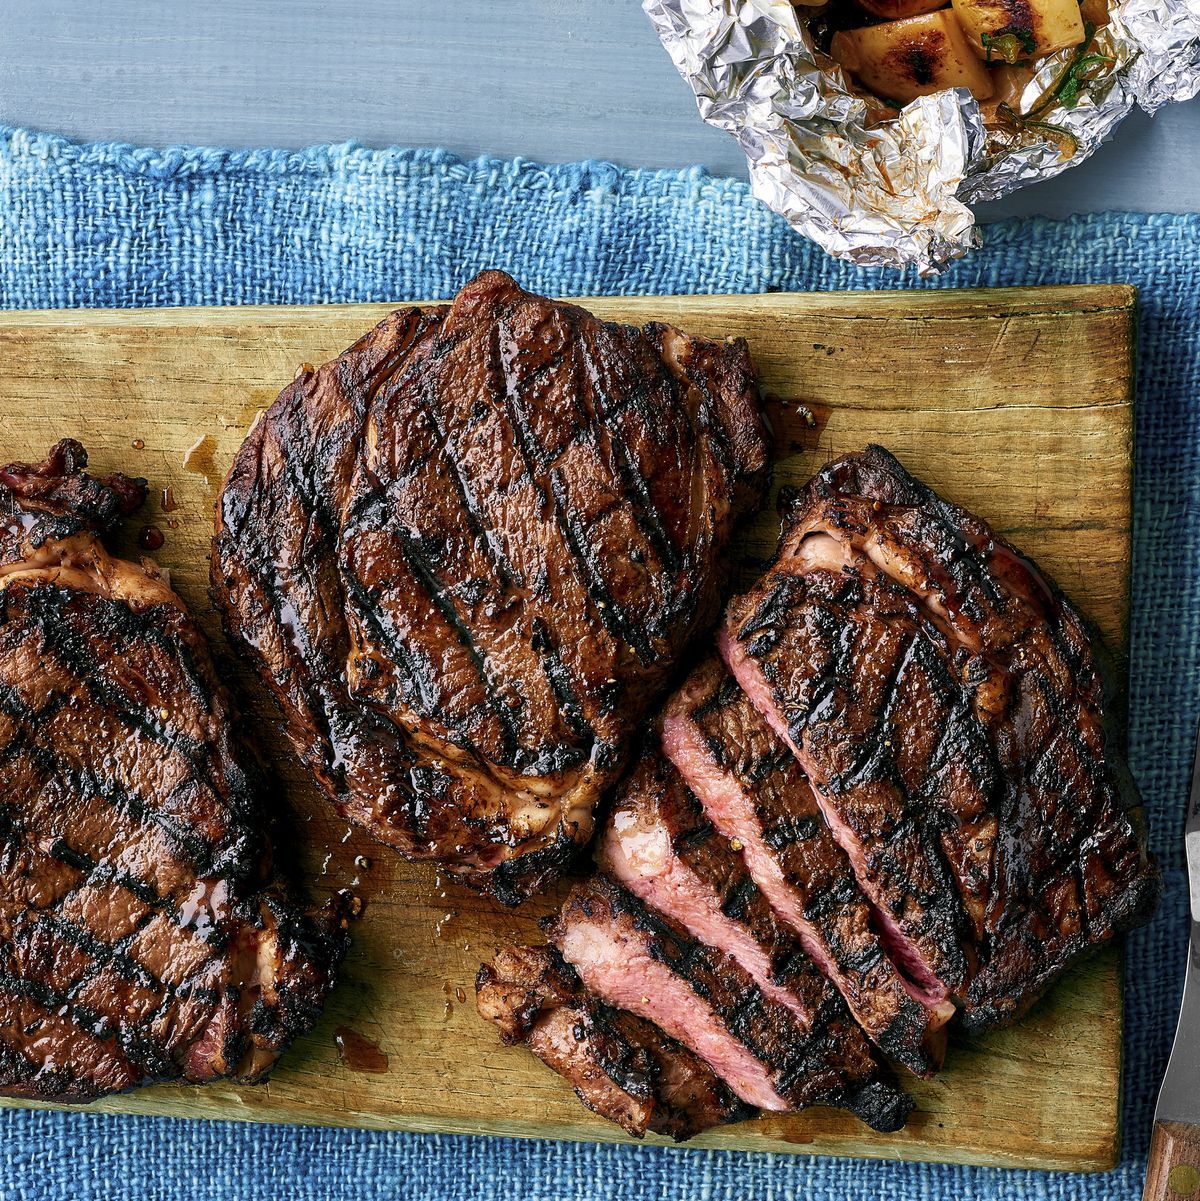
Ingredients FOR THE LEMON-PEPPER SEASONING: 3 tbsp. freshly cracked black pepper 2 tbsp. kosher salt 2 tbsp. grated lemon zest, dried for 1 hour 2 tsp. garlic powder 2 tsp. mustard powder 2 tsp. onion powder 1 tsp. sugar FOR THE STEAKS: 8 boneless rib-eye steaks (about 1 inch thick) Kosher salt, to taste 1 stick salted butter, melted Directions For the lemon-pepper seasoning: Stir together the pepper, salt, lemon zest, garlic powder, mustard powder, onion powder and sugar in a small bowl. For the steaks: Preheat a grill to medium high. Season the steaks lightly with salt and rub the lemon-pepper seasoning on both sides. Brush the steaks liberally with the melted butter Grill the steaks 1 minute 45 seconds, then rotate the steaks 90 degrees. Cook 2 minutes, then go ahead and flip the steak over to the other side. After 1 minute 45 seconds on the second side, rotate 90 degrees and finish cooking for 2 minutes, or until the steaks reach 115˚ to 120˚ on an instant-read thermometer (the steak will continue to cook slightly after you’ve removed it from the grill). This is medium rare— my favorite. Remember, you can always throw a steak back on the grill if it’s too red for your taste but you can’t undo it if it’s overcooked! via: https://www.thepioneerwoman.com/food-cooking/recipes/a35823414/lemon-pepper-grilled-rib-eyes-recipe/
By Campfire Travel 03 Nov, 2022
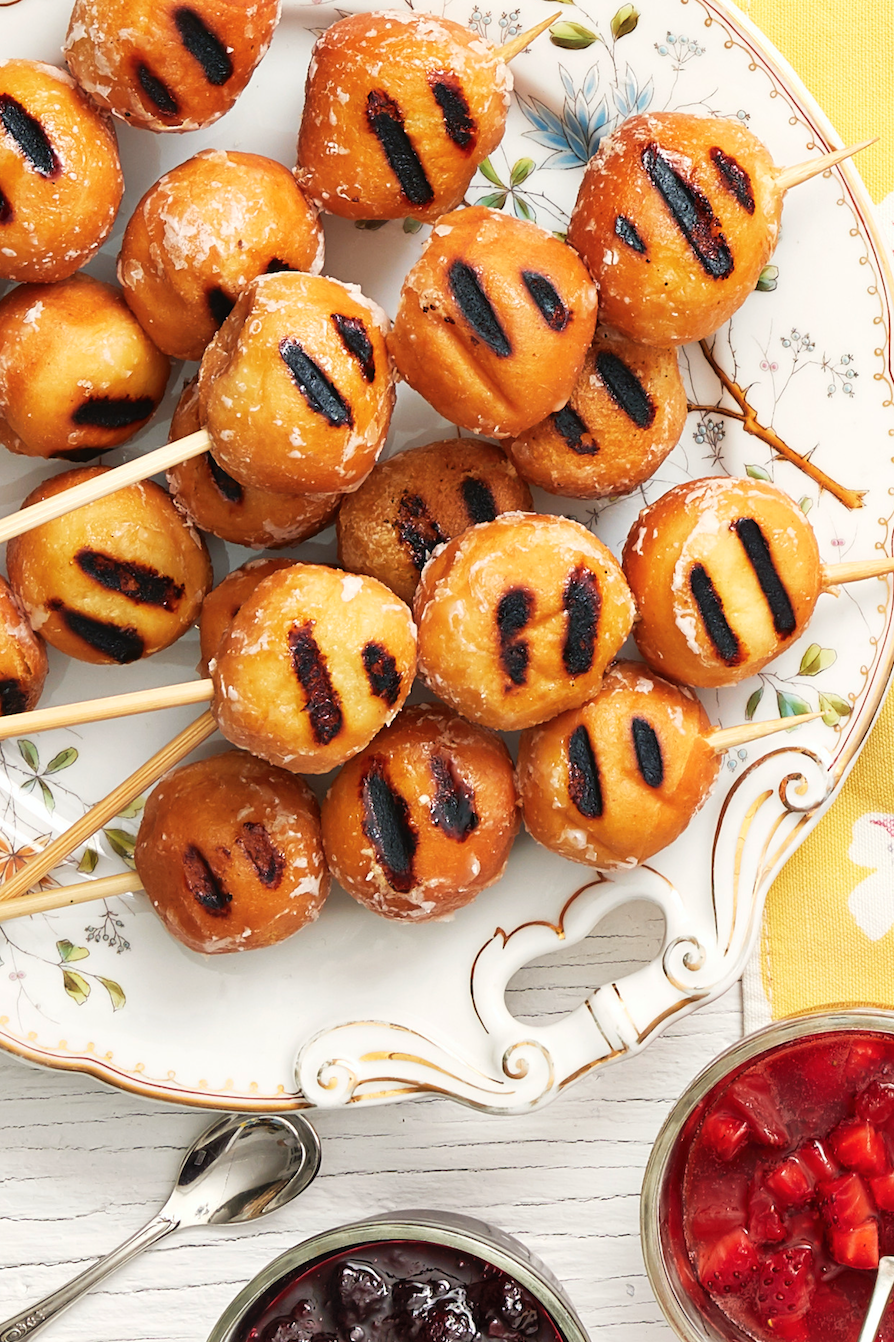
Ingredients 1 6-ounce container blueberries 1/2 c. sugar 2 tbsp. lemon juice (from 1 lemon) 2 tsp. cornstarch 1 1/2 c. chopped strawberries (about 8 ounces) 18 to 24 glazed doughnut holes Directions Combine the blueberries, 1/4 cup sugar, 1 tablespoon lemon juice, 1 teaspoon cornstarch and 1/4 cup water in a small saucepan and bring to a boil over medium heat. Reduce the heat to low and simmer, stirring occasionally, until the blueberries start breaking down and the sauce thickens, about 15 minutes. Scrape into a small bowl and set aside. Wipe the pan clean and add the strawberries and the remaining 1/4 cup sugar, 1 tablespoon lemon juice and 1 teaspoon cornstarch. Cook over low heat, stirring occasionally, until the strawberries soften and the sauce thickens, about 15 minutes. Scrape into a separate small bowl and set aside. Meanwhile, preheat a grill to low. Thread the doughnut holes onto 6 to 8 ten-inch wooden skewers. Grill the doughnuts, turning, until warmed and marked, 1 to 2 minutes per side. Serve with the fruit sauces. via: https://www.thepioneerwoman.com/food-cooking/recipes/a33407727/doughnut-hole-kebabs-recipe/
By Campfire Travel 03 Nov, 2022
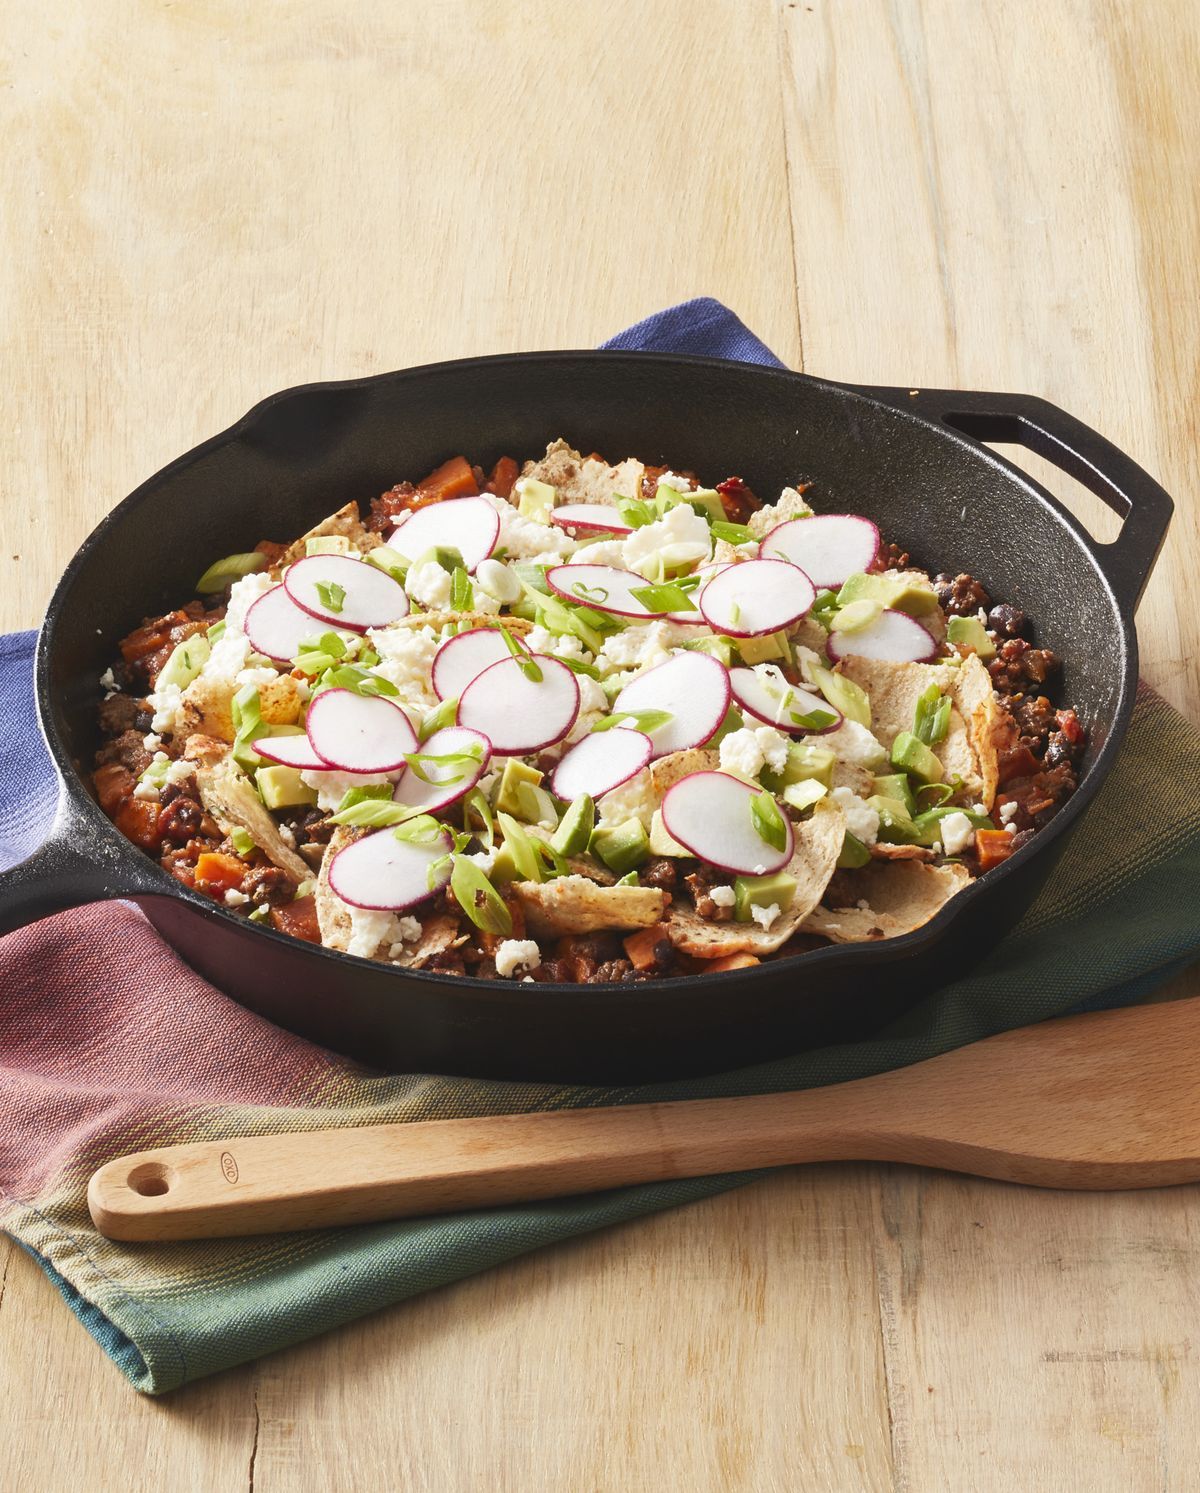
Ingredients 6 6-inch corn tortillas 1 1/2 lb. ground beef 2 tsp. chili powder 2 tsp. ground cumin 1 tsp. kosher salt Black pepper, to taste 1 tbsp. vegetable oil 2 small sweet potatoes (about 1 pound), peeled and cut into 1/2-inch pieces 1 14.5-ounce can black beans, drained and rinsed 1 chipotle chile in adobo, chopped, plus 1 teaspoon sauce from the can 2 c. jarred salsa Chopped avocado, thinly sliced radishes, crumbled queso fresco, and sliced scallions, for topping Directions Lightly char the tortillas over the flame of a gas burner. Let cool, then tear into large pieces. Heat a large cast-iron skillet over medium-high heat. Add the ground beef and season with the chili powder, cumin, salt and pepper. Cook, breaking up the meat, until browned, about 5 minutes. Remove the beef to a bowl and set aside. Add the vegetable oil and sweet potatoes to the skillet. Cook, stirring occasionally, until browned around the edges and beginning to soften, 5 to 7 minutes. Add the black beans, chipotle, adobo sauce and ¼ cup salsa to the sweet potatoes. Stir in the beef and 1 cup water and cook, stirring often, until slightly thickened and the sweet potatoes are tender, 5 to 7 minutes. Stir in the remaining 1¾ cups salsa and add a little more water if you like a saucier dish. Stir in the tortilla pieces. Serve immediately with your favorite toppings. via: https://www.thepioneerwoman.com/food-cooking/recipes/a32464308/beef-taco-skillet-recipe/
By Campfire Travel 05 Sep, 2022
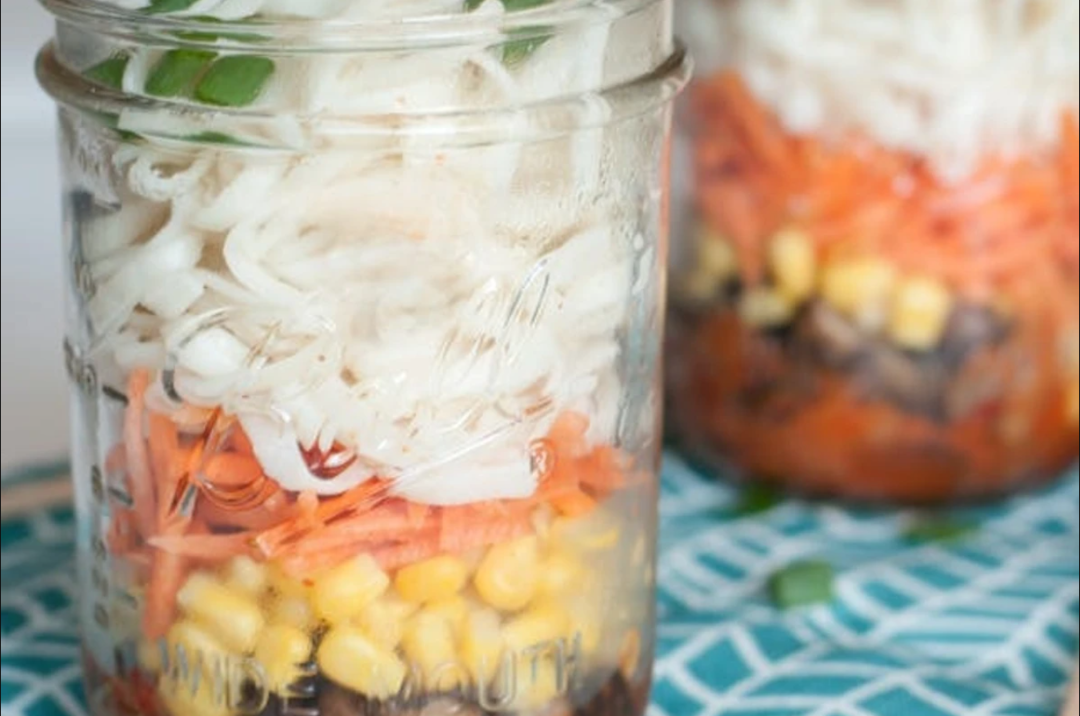
Ingredients 1 teaspoon bouillion paste (I used Better than Bouillion vegetable paste, but you could also use chicken, beef, pork, miso or Thai curry paste.) 3 tablespoons kimchi (or more if you like spice!) If kimchi isn’t your thing, try sesame seed oil, chili sauce or Sriracha. veggies! I used corn, carrots and sautéed mushrooms. You could add spinach, peppers or bok choy. There are endless possibilities here. 1 cup cooked brown rice noodles. You can also try udon, soba noodles, vermicelli or spaghetti. Get creative! green onions on top (optional) mason jar (the wide mouth containers work best) Directions Add bouillion paste to the bottom of a mason jar. Next add in your kimchi. Pack in your veggies. Put noodles on top. Top with green onions. When ready to eat, remove lid and pour hot water into the mason jar. Let sit for a few minutes, then enjoy! via https://www.brit.co/mason-jar-ramen/
By Campfire Travel 05 Sep, 2022
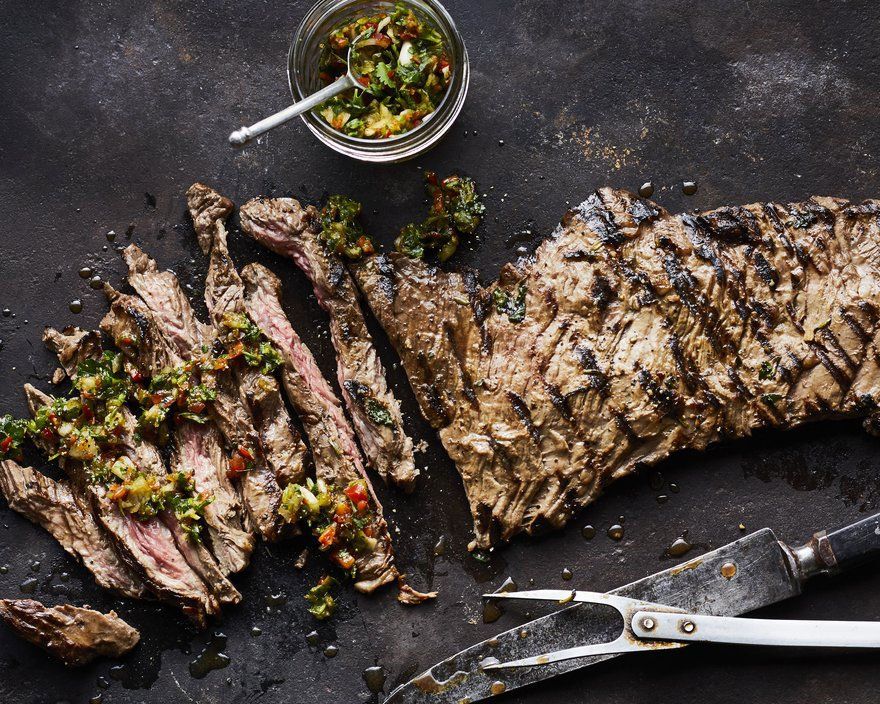
Ingredients Marinade 1 minced garlic clove 1/4 cup cilantro leaves 2 tablespoons olive oil 3 tablespoons tequila 1 tablespoon fresh lemon juice 1 tablespoon fresh lime juice 1/2 teaspoon salt 1 teaspoon freshly ground black pepper 1 1/2 pounds skirt steak Instructions At home: Whirl garlic, cilantro, oil, tequila, lemon and lime juices, salt, and pepper in a blender or food processor. Transfer to a large resealable plastic bag. When ready to marinate steak (at least 1 and up to 24 hours before cooking), add steak to bag, shake to coat with marinade, reseal, and chill. At campsite: Prepare a gas or charcoal grill for high heat (450° to 550°; you can hold your hand 5 in. above cooking grate only 2 to 4 seconds). Grill steak over direct heat (cover if using gas), about 4 minutes per side for medium-rare. Let sit 10 minutes, then cut across the grain into 1/2-in.-thick slices. Serve with Four-Herb Chimichurri. via https://www.sunset.com/recipe/gaucho-steak-with-four-herb-chimichurri
By Campfire Travel 05 Sep, 2022
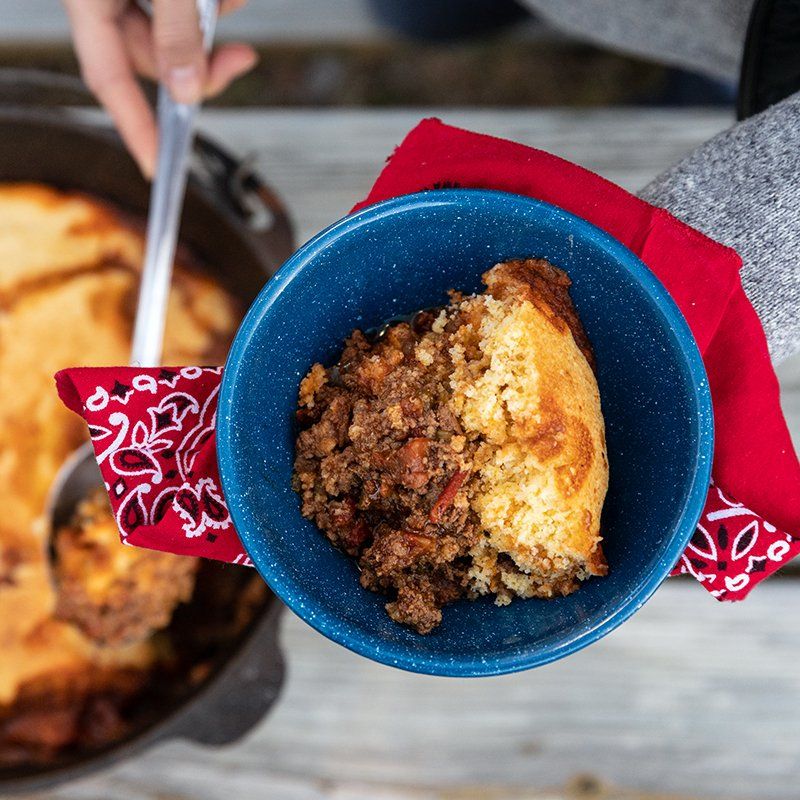
INGREDIENTS 3 lbs. Ground Beef, (90% lean) 1 Tbsp. vegetable oil 1 medium onion, chopped 1 green bell pepper, chopped 1 jalapeño pepper, ribs and seeds removed, chopped 4 garlic cloves, minced 2 Tbsp. chili powder 1 Tbsp. paprika 1 Tbsp. ground cumin 1 tsp. dried oregano ½ tsp. freshly ground black pepper ½ tsp. Kosher salt 1 can (8 oz.) tomato sauce 1 can (10 oz.) diced tomatoes & green chilies, undrained 1 12-oz bottle of beer 2 8.5 oz boxes of cornbread mix (including ingredients to prepare cornbread) Optional Toppings Sour cream Sliced green onions Shredded cheddar cheese INSTRUCTIONS Step 1 Heat briquettes up in a chimney, then make a layer of hot briquettes on the ground, a fire ring, or other metal structure. Step 2 Place the dutch oven on the briquettes and allow dutch oven to get hot. Step 3 Add oil to the dutch oven and sauté onion, bell pepper, and jalapeño pepper stirring occasionally until tender, approximately 4-7 minutes. Add garlic and cook for an additional 1 minute. Step 4 Add Ground Beef to dutch oven and cook for 8-10 minutes, breaking beef into small crumbles and stirring occasionally until browned. If dutch oven starts to cool off, add more hot briquettes on the bottom. Step 5 Add chili powder, paprika, cumin, oregano, black pepper and salt; cook for 1 minute. Step 6 Add tomato sauce, diced tomatoes & green chilies, and beer; bring to a boil. Cook for 30 minutes. Step 7 Prepare cornbread mix based on box instructions and pour over chili, spreading into an even layer. Step 8 Heat approximately 20 additional briquettes. Cover dutch oven with lid and place hot briquettes evenly on the top of the closed lid. Step 9 Cook for about 10 minutes, checking halfway through. Check to see if cornbread is done by sticking a toothpick into cornbread. If the toothpick comes out clean, it is done. via https://beeflovingtexans.com/recipe/campfire-dutch-oven-chili-with-cornbread/
Show More
Share by: